Frank Zhao, an engineer at PlayStation R&D who describes his position as “seeing how to make new technology fun” has taken his personal curiosity in tinkering to the 3D scanning world – creating a DIY 3D scanner that utilizes Raspberry Pi. An early adopter and experimenter with 3D printing, Zhao has recently turned to scanning and photogrammetry. In a recent project, detailed on his blog, he set out to see if infrared cameras could fill in gaps where more traditional photogrammetry techniques struggle.
After less than stellar results with a Jetson Nano developer kit and the PlayStation camera, Zhao started looking for other inexpensive and portable options.
“I was hoping for the same results as if I were to do photogrammetry with a 1280×720 camera, but with the black spots filled in instead of just a void. Also I was hoping for enough frame rate to navigate a small indoor robot.”
Raspberry Pi and Intel depth camera
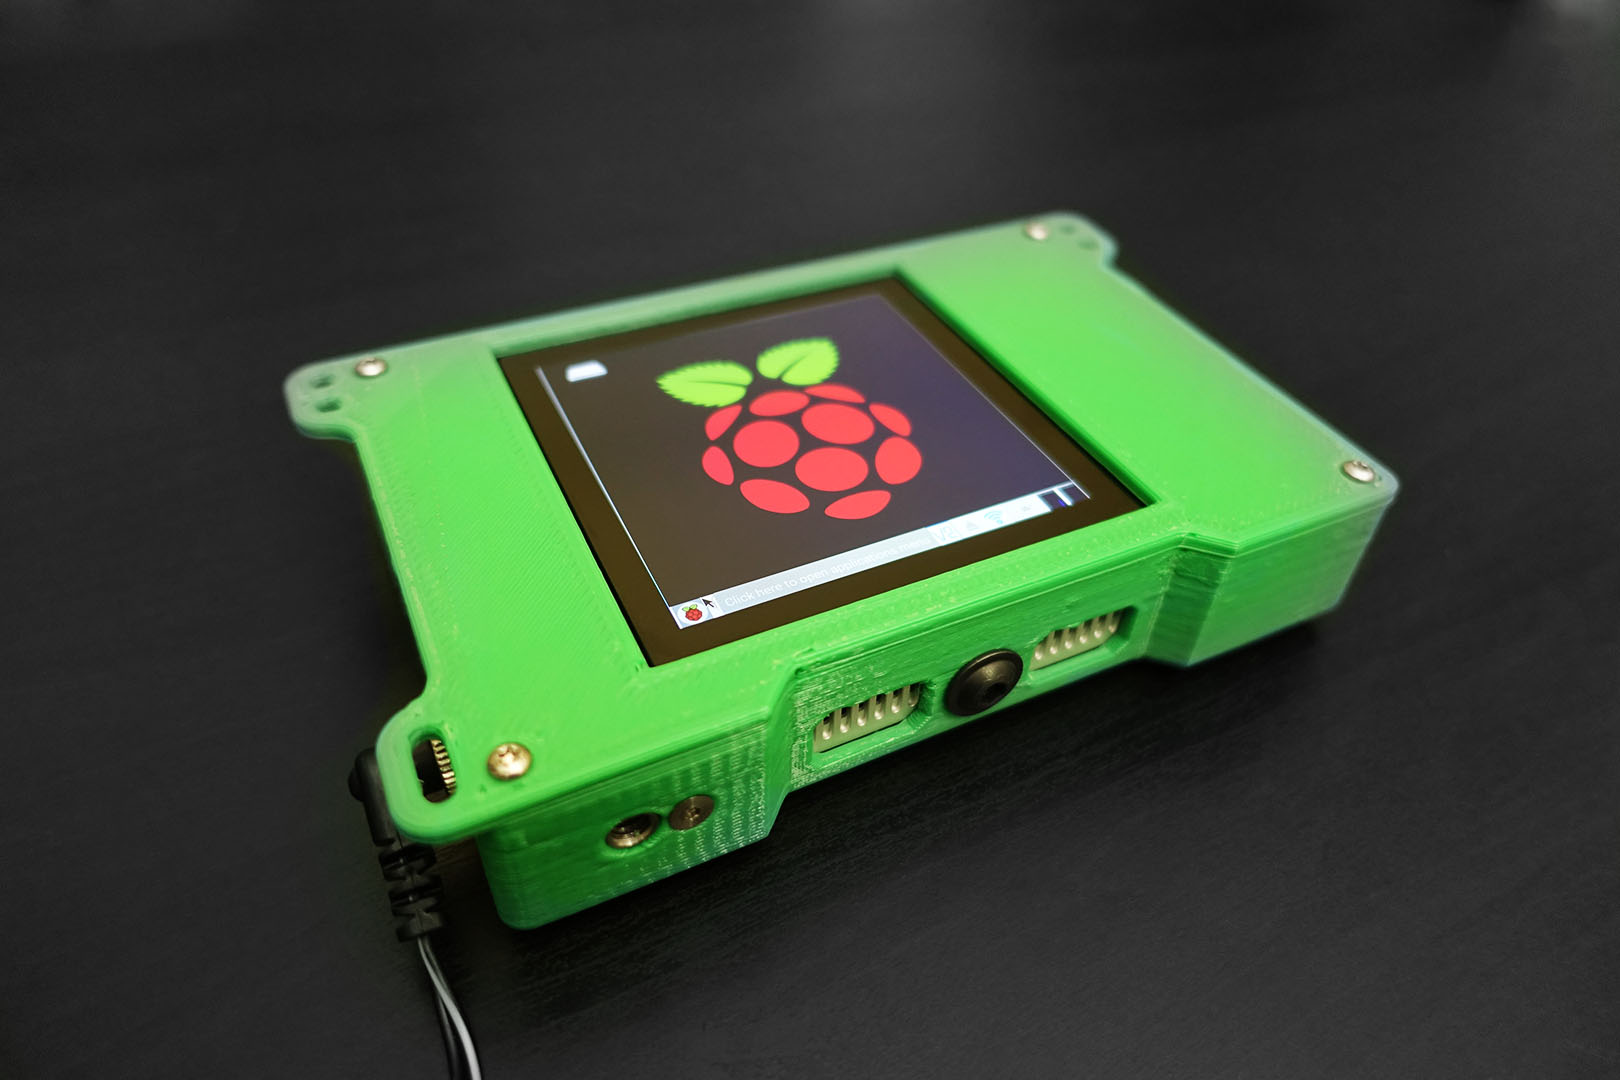
The scanner he ended up creating is contained in a 3D printed case, backed by a Raspberry Pi 4 and an Intel RealSense D415 camera. The Intel camera is depth sensing, using infrared cameras and an onboard processor to generate depth map data for feature extraction, and also includes a normal RGB camera. That’s a lot of data to push through at once – which is why using the latest Raspberry Pi 4 for this DIY 3D scanner was crucial for this to become a reality. The Raspberry Pi’s utilizes USB 3.0 (which gives the device more bandwith) and the newer ARM core has out-of-order instruction execution, which can help to speed up the process.
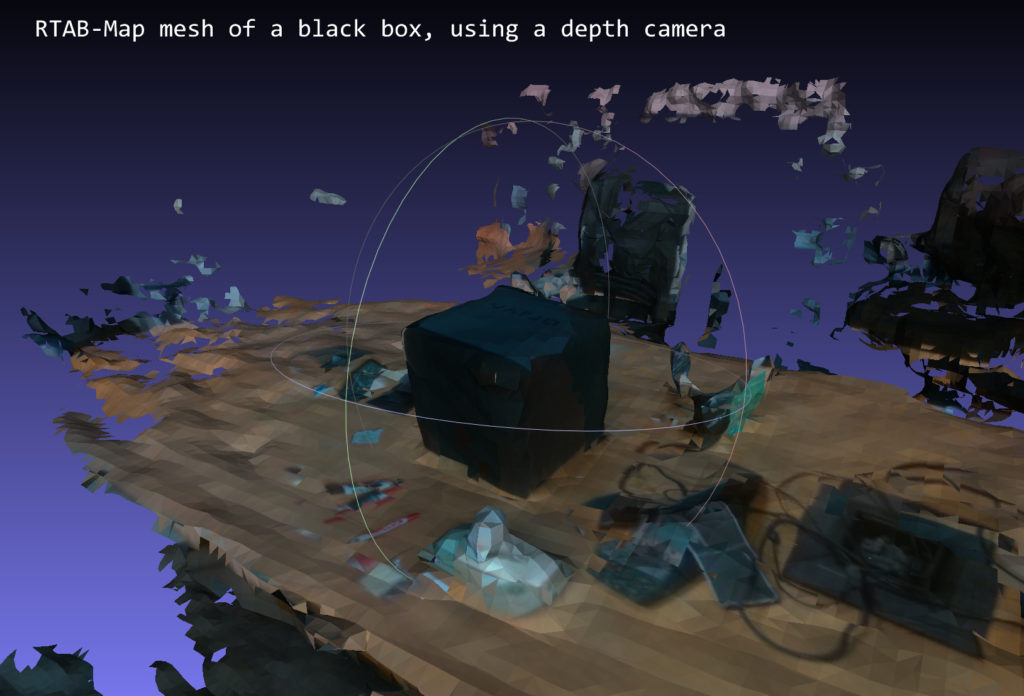
In terms of the software, the Pi is running a program called RTAB-MAP (Real-time Appearance-based Mapping) which is capable of performing simultaneous location and mapping (SLAM) using the same approach as commercial SLAM scanners – where overlapping points are used to extrapolate both the location and their relative positions, explains Zhao.
“RTAB-Map is a platform that uses a bunch of open source SLAM related libraries to do its mapping, and also provides a way for me to save the ‘database’ and generate 3D models.”
Leveraging the advantages of infrared
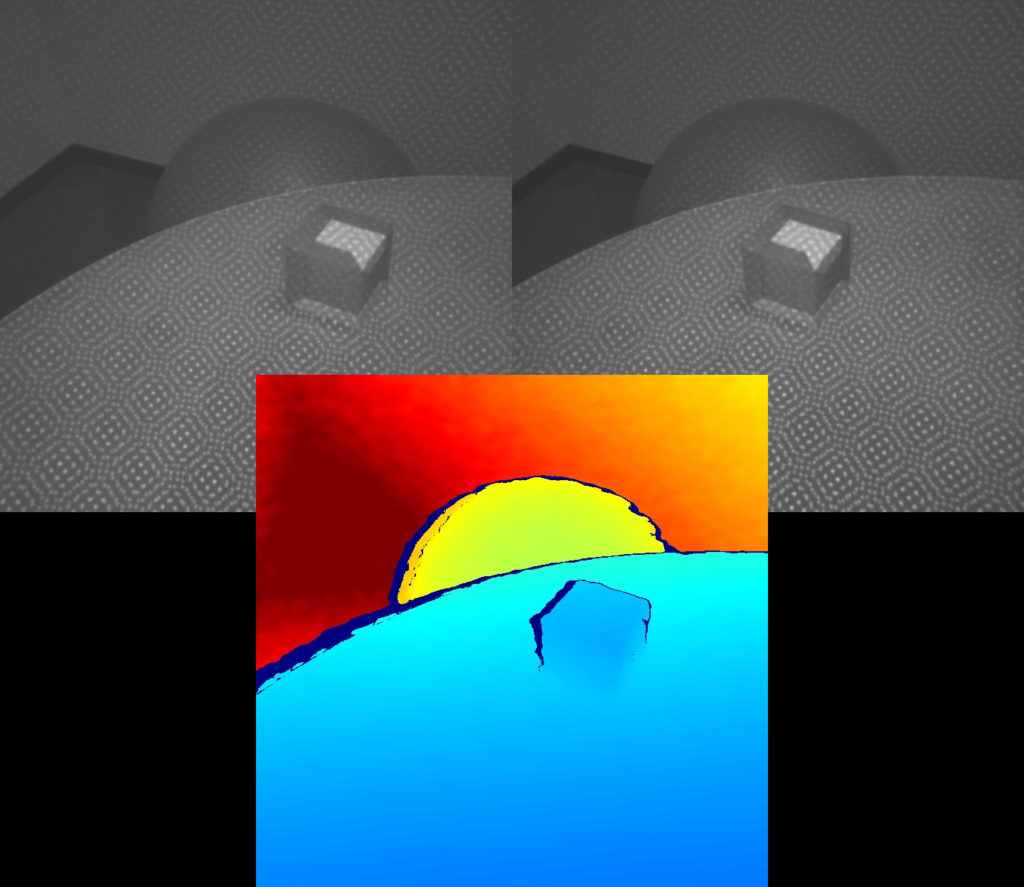
Typical depth sensors have trouble with flat, shiny objects because of their lack of texture. The RealSense camera uses a dot projector to overlay a pattern onto the surface, so that the dots become the missing texture. The processor can then have an easier time of figuring out depth. Infrared also has the advantage of being invisible to the human eye, so it will not be distracting to light up what is being scanned with this DIY 3D scanner. This is similar to how the iPhone accomplishes its Face ID.

“Due to the amount of noise in the depth map and the lower resolution of the cameras, the resulting surface quality is poor,” commented Zhao, “However, this technique could succeed where photogrammetry fails. Remember that photogrammetry will fail on texture-less objects.”
 If you want to attempt to replicate this yourself, Zhao provides details on his blog and github. Though the project was inexpensive, he warns that it his attempt was challenging from a software perspective (and was less straightforward to a “DIY kit“), and that he had to create his own installer script to overcome some incompatibility and dependencies. It is also not designed to be superior to commercial scanners.
“This device does not replace a commercially available 3D scanner, but it’s fun to wave around.”


